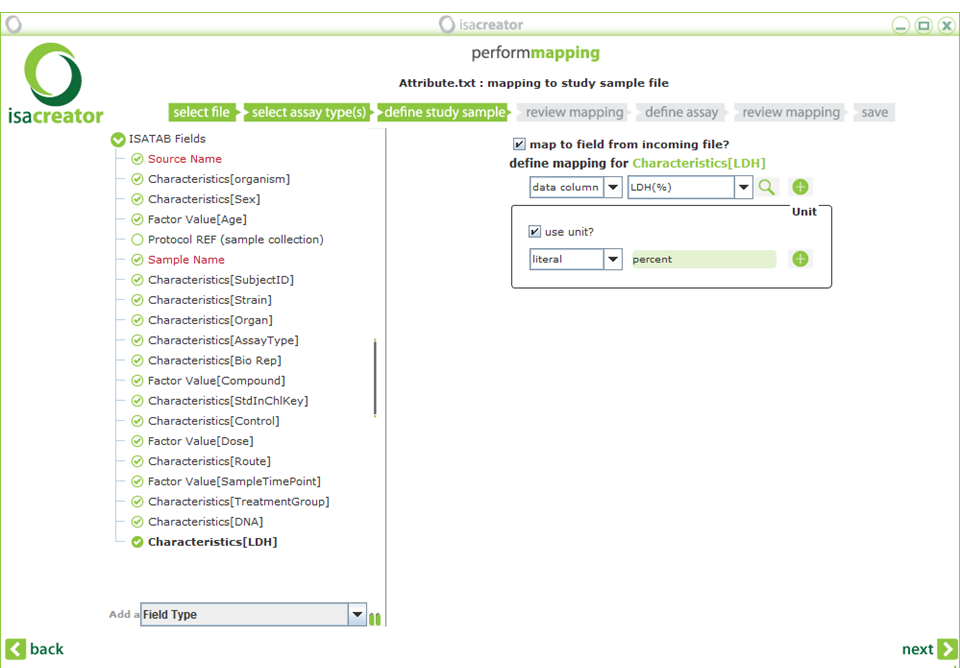
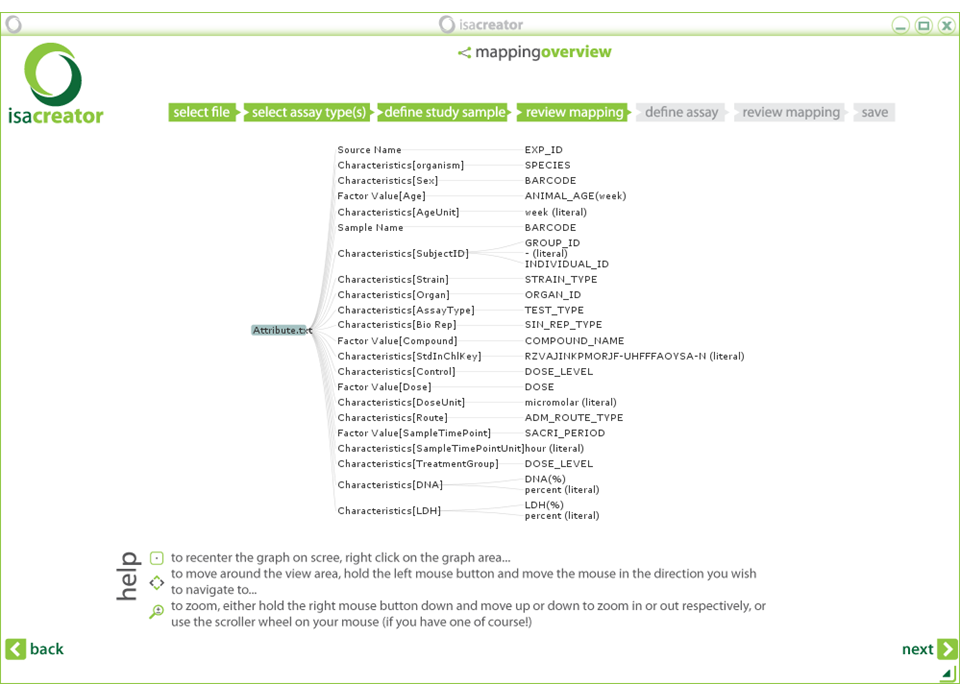
| xi) | Additionally, you may want to add fields, such as the DNA content and LDH release. Add a “Characteristics” Field type (pull down menu at the lower left corner). Type “DNA” as the qualifier and “add field”. Repeat for “LDH”. Now map: |
Characteristics[DNA] ==> DNA(%)
Characteristics[LDH] ==> LDH(%)
Also check “use unit?” and type the literal “percent” in both cases (not the %-sign). Since this is a “Characteristics” variable it does not have a separate variable for the unit.
Click Next to review
Note: If you do not see all the mappings, you can move around and zoom in/out the review you generated. See the instructions in the screen for details.
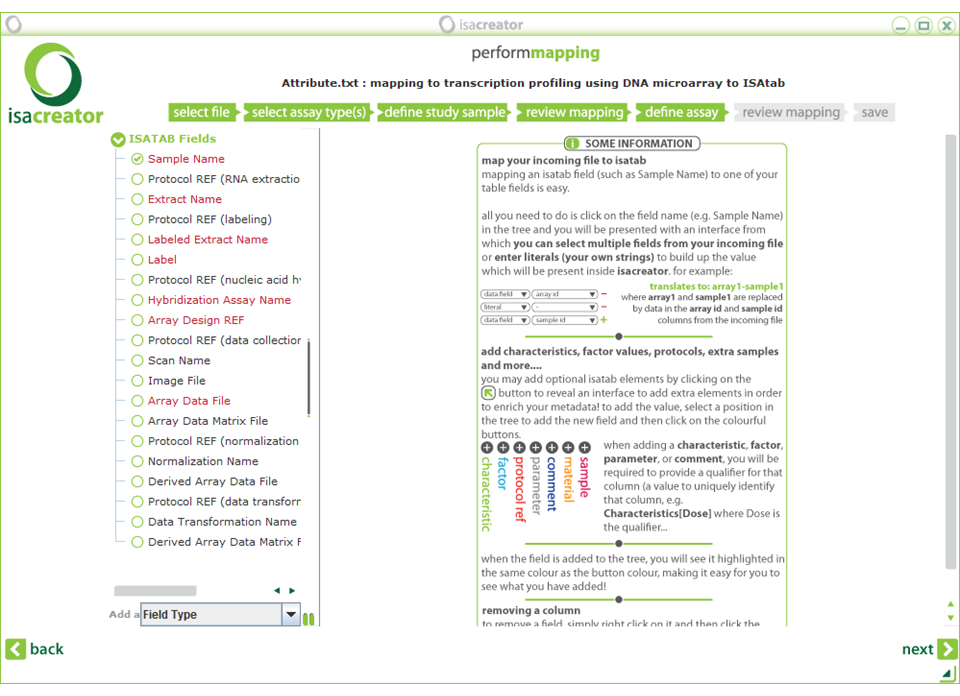
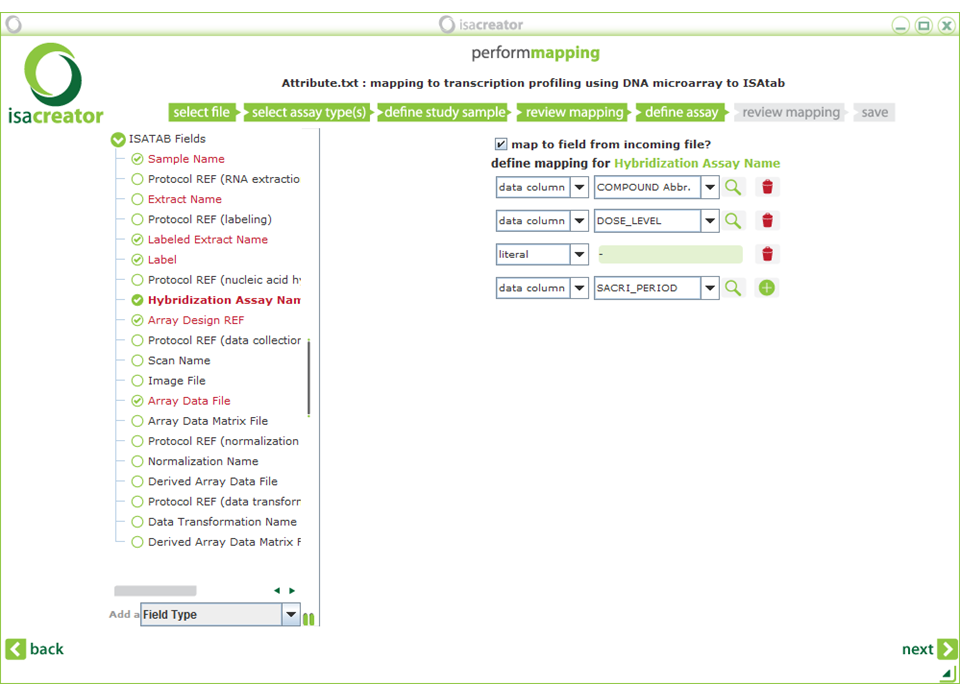
| xii) | Click Next and map the following assay annotations: |
| Required fields are in red. |
| Note: The “Required Fields” change according to the assay type. In this case we have selected “Transcription profiling” -> “DNA microarray” -> “Affymetrix”. So the fields correspond to the information covered by the manufacturer’s protocols (there can be some variation according to the array/assay type that is used). |
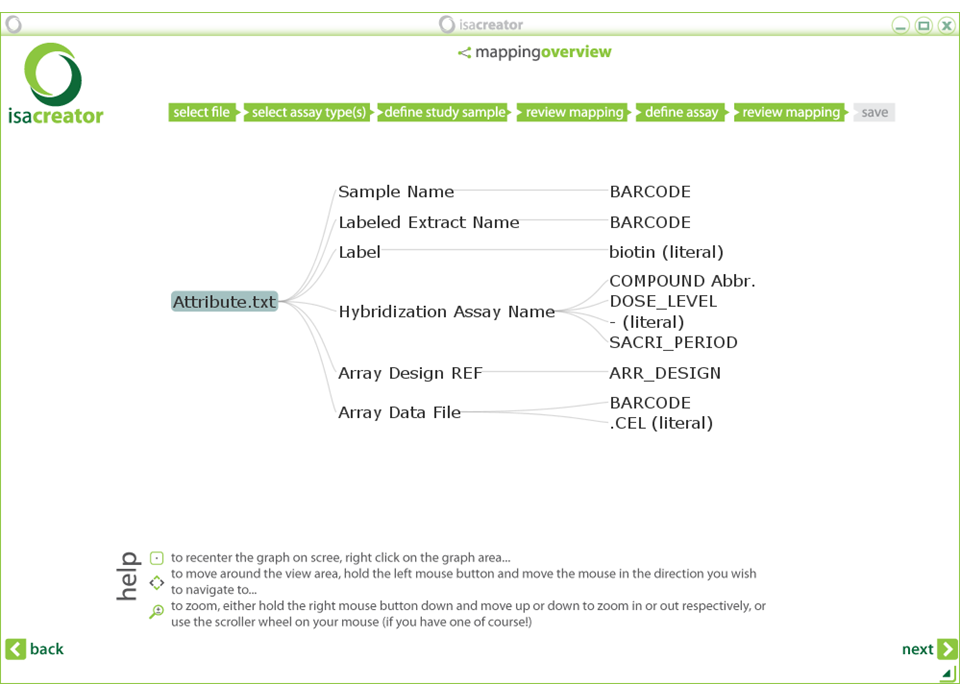
| Sample Name | ==> | BARCODE |
| Labeled Extract Name | ==> | BARCODE |
| (in our case we do not have a different sample labeling for different protocol steps) | ||
| Label | ==> | (literal) “biotin” |
| Hybridization Assay Name | ==> | COMPOUND_Abbr. DOSE_LEVEL (literal) “-” SACRI_PERIOD (compound abbreviation is used because the compound names have inconvenient special characters and commas that impede analysis.) |
| Array Design REF | ==> | ARR_DESIGN |
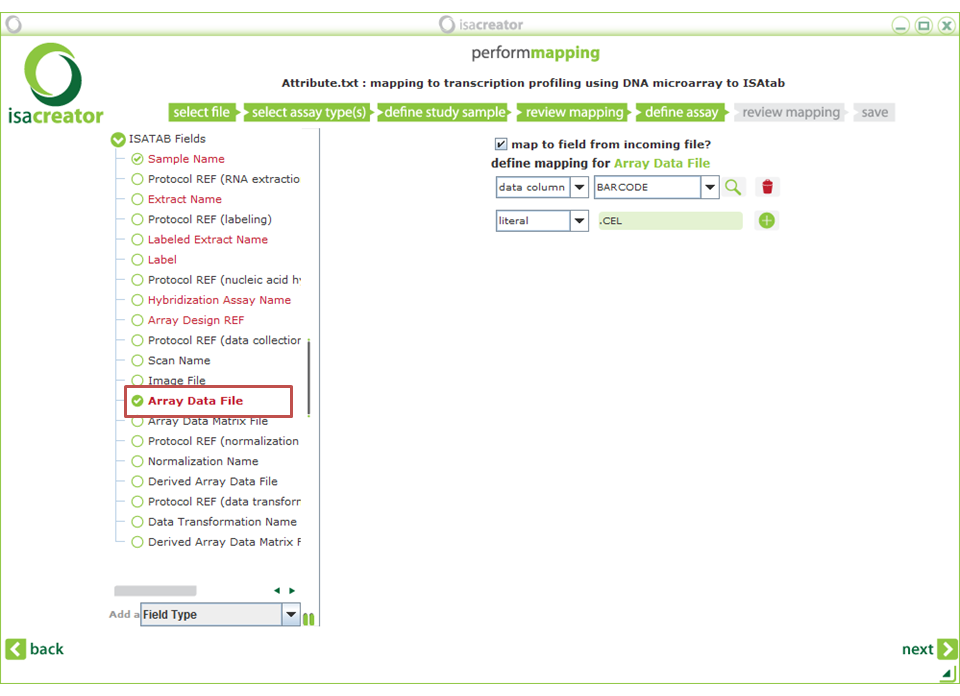
| Array Data File | ==> | BARCODE (literal) “.CEL” |
| Next, review your mappings: |
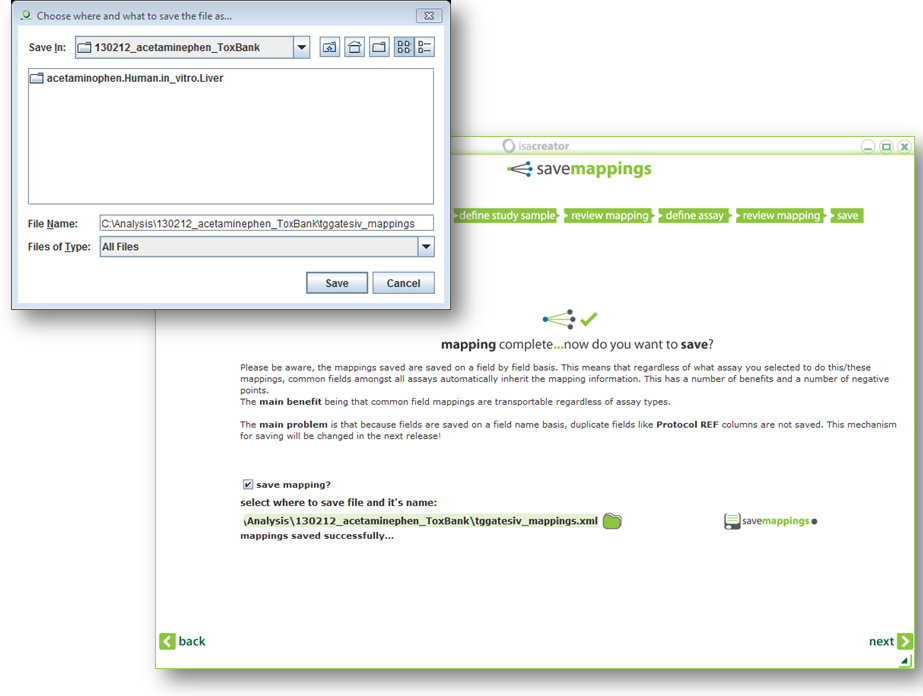
After this you have the option to save your mappings.
|
TIP: Save your mappings so you do not have to repeat this process next time! Note: after you’ve saved your mappings you cannot change them except by selecting “use previous mapping?” in step 5, loading your spreadsheet again, and saving the mappings once more. Or, for the advanced users, you can open the mappings file in a text editor/Excel and make modifications there. |
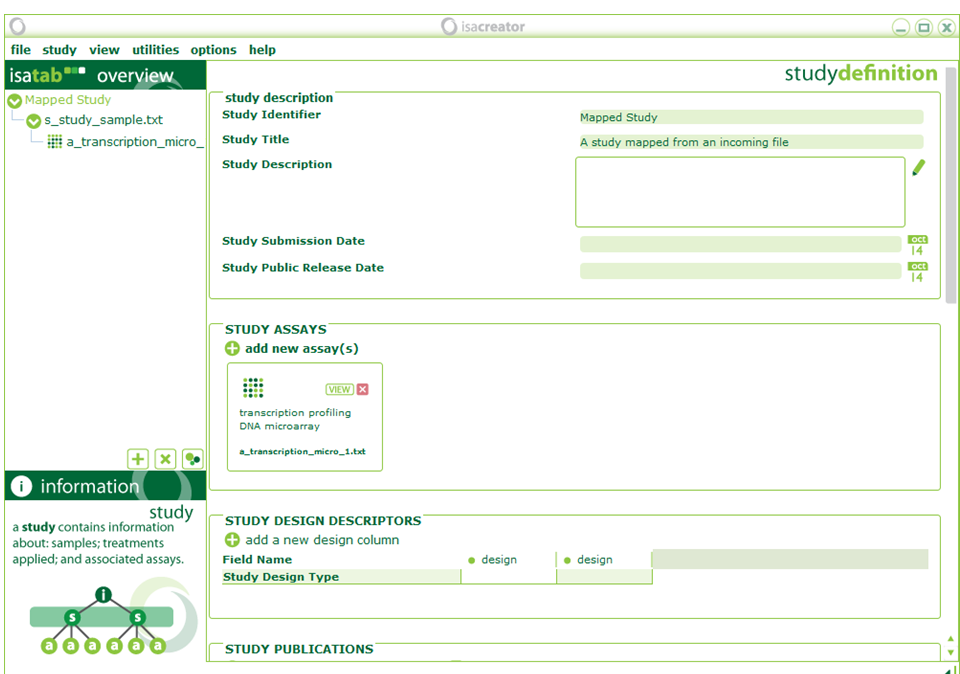
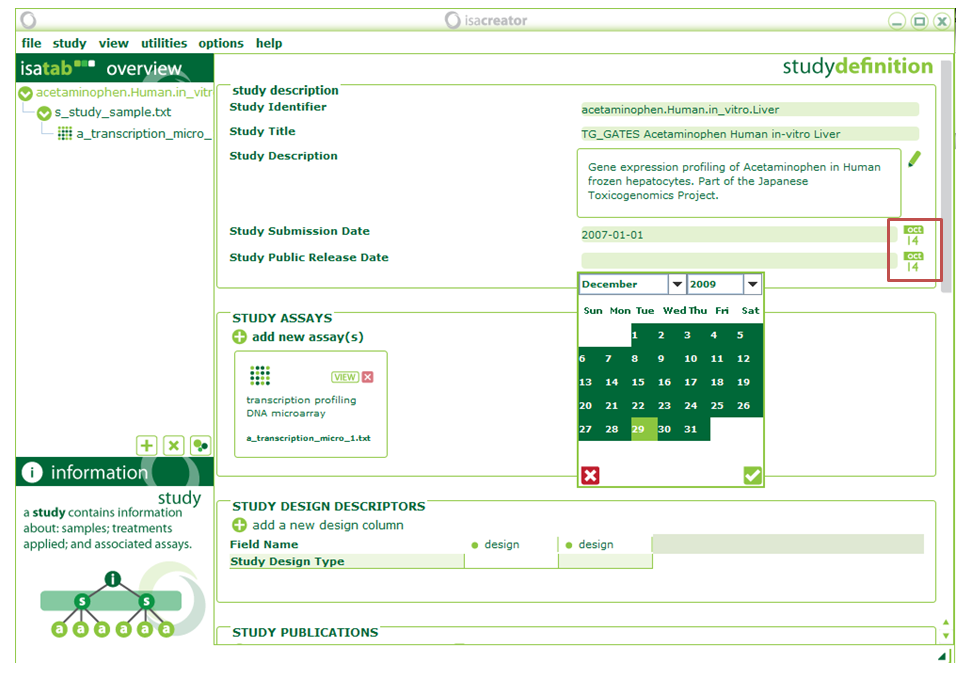
| xiii) | Once we have finished mapping, we need to fill out some Investigation-level information. All information will be stored in ISA-TAB tables that are saved as tab-delimited text files. |
| Study Identifier | ==> | acetaminophen.Human.in_vitro.Liver |
| Study Title | ==> | TG_GATES Acetaminophen Human in-vitro Liver |
| Study Description | ==> | Gene expression profiling of Acetaminophen in Human frozen hepatocytes. Part of the Japanese Toxicogenomics Project. |
| Study Submission Date | ==> | 2007-01-01 |
| Study Public Release Date | ==> | 2009-12-29 |
Please add dates from the “Calendar” and do not type them in. This ensures that they are in the correct format for the ToxBank” investigation service to understand.
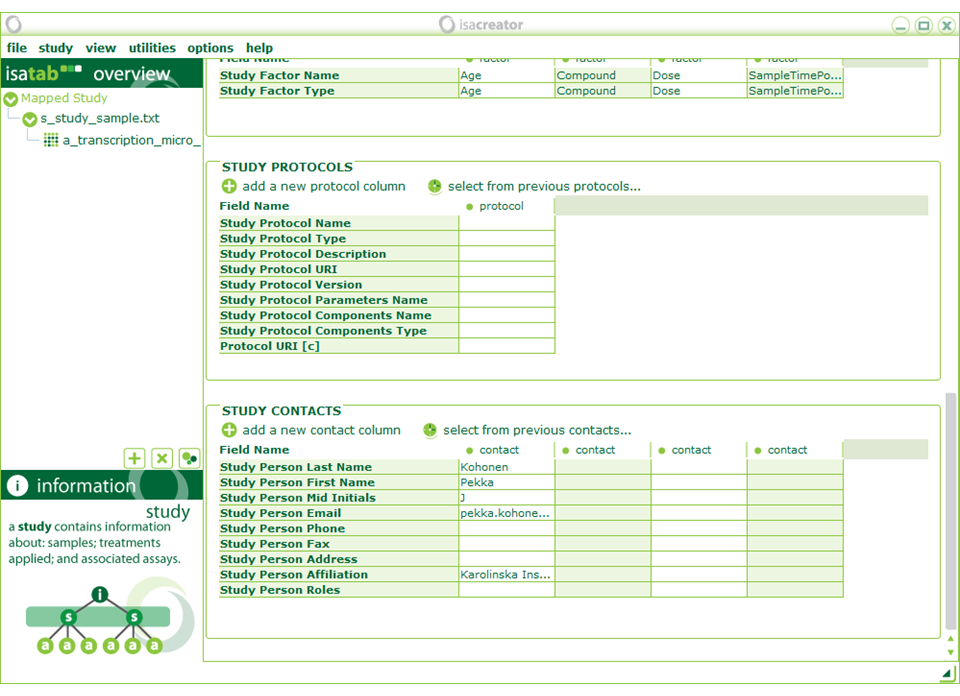
In “Study Publications” search for publication with PubMed ID “20041446” and that will automatically fill in the required fields.
Enter your contact information under “Study Contacts”.
Even if you are entering publicly available information, you are still creator of the ISA-TAB archive, so you should enter your own contact details . Contact details of the data producers will be in the Pubmed abstracts.
Proceed to:
5.3. Mapping your annotation to ISA-tab, PART 3

