| v) | This tutorial was prepared using the “Advanced” version of the ISAcreator, so we suggest that you make use of that. |
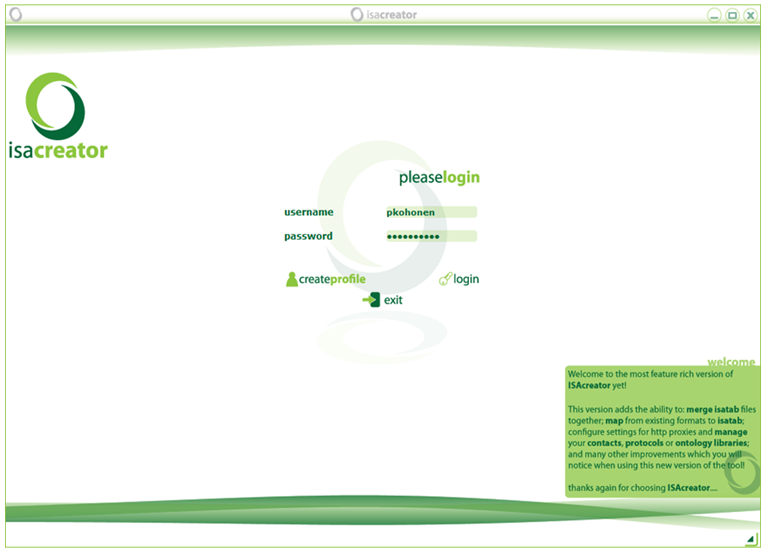
| First login (or “create a profile” if you are using ISAcreator for the first time). |
Select a configuration (use the “ToxBank config”– see requirements above) and “load selection”. The profile is specific to the local installation and does not communicate e.g. with the ToxBank data warehouse. No data is sent anywhere at this point. If you forget the password you can just create a new log-in without losing anything.
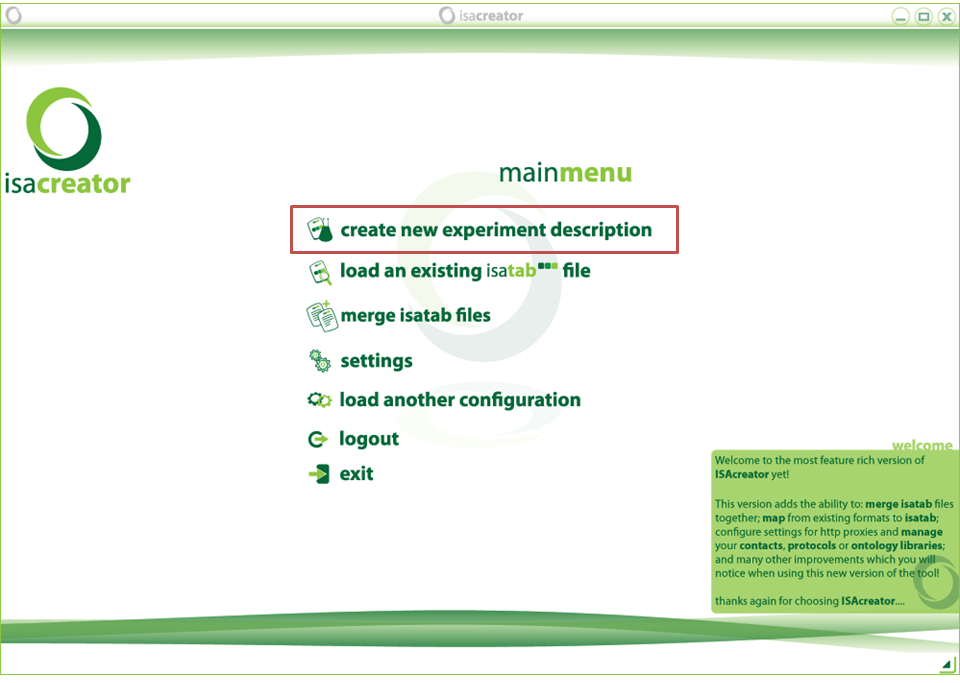
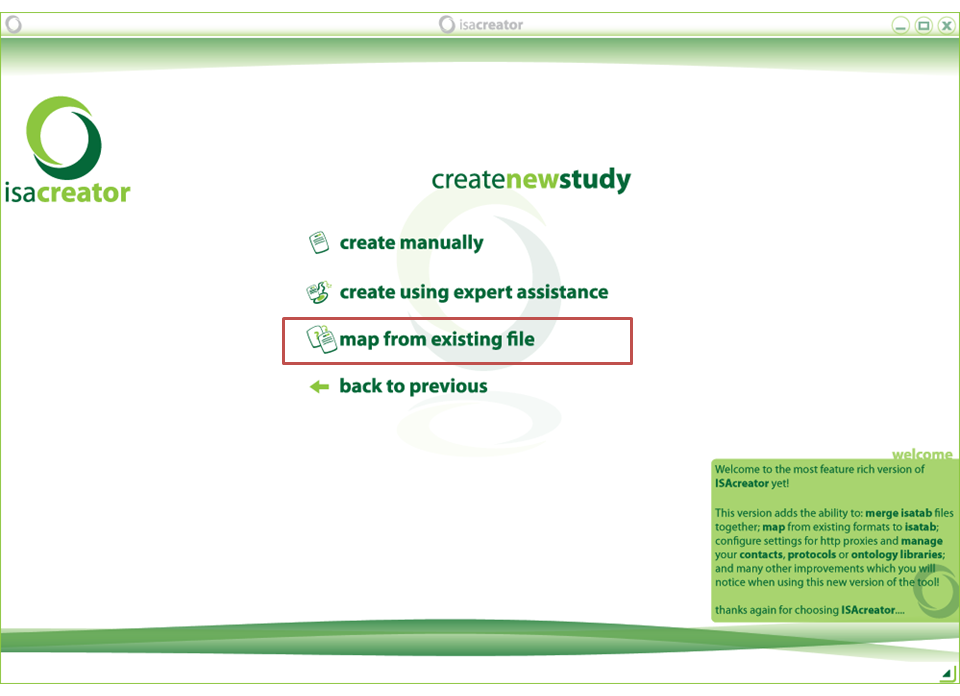
Select “create new experiment description” and “map from existing file”.
| vi) | Browse (click the browse button) for “Attribute.txt” (or your own spreadsheet file - supported formats are txt, csv, xls). In case you have another tabular extension, just rename it to txt as we did with Attribute.txt in section ii). |
| Click “Select for mapping” and Next. |
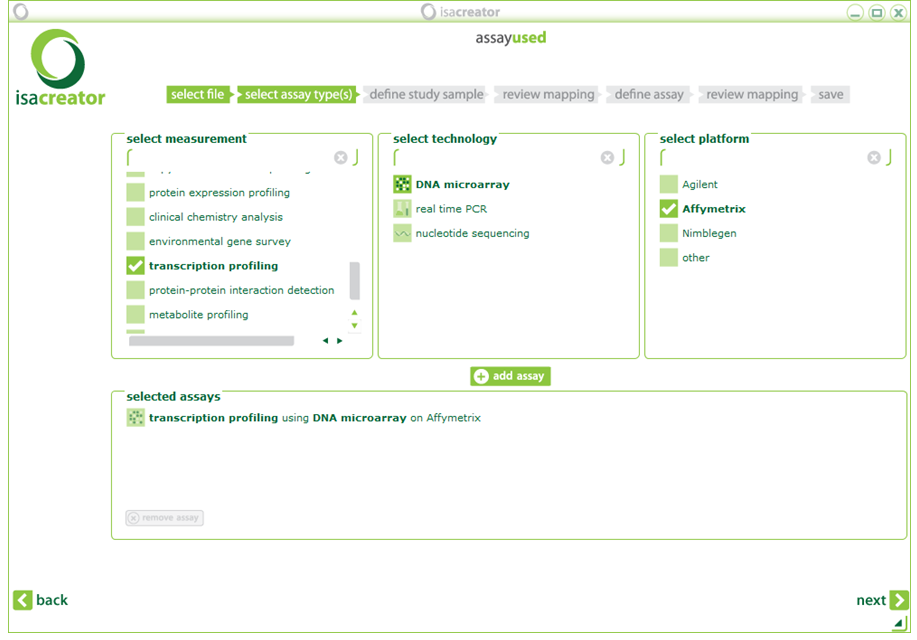
| vii) | Select the kind of assay performed on your data. You select 3 options sequentially: measurement, technology, platform. If you are using the TG-GATES dataset, select “1) transcription profiling using 2) DNA microarray on 3) Affymetrix”. Click “+add assay” and Next |
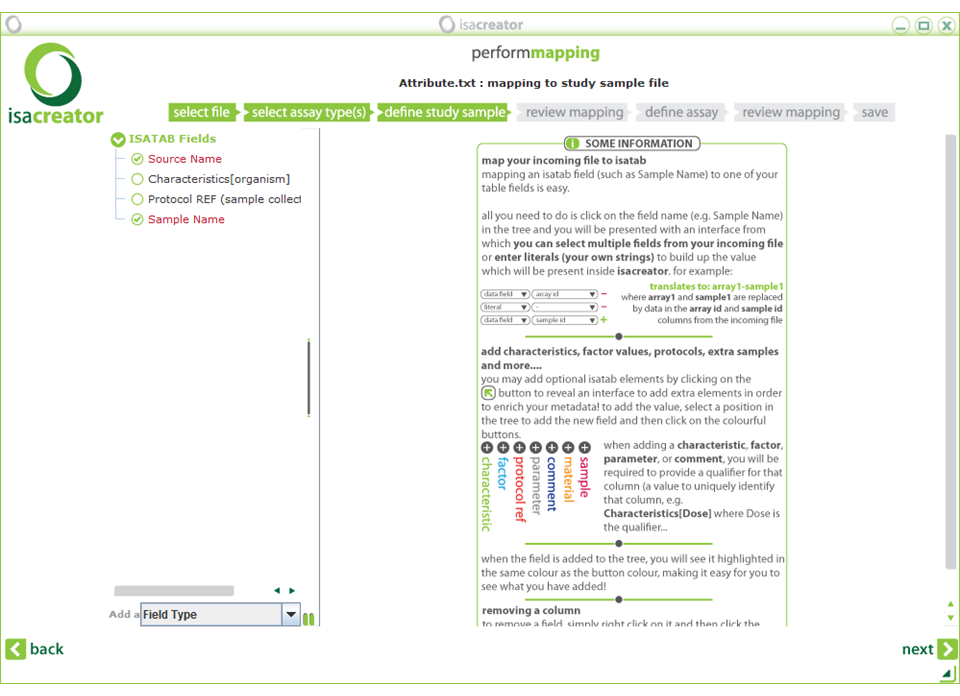
| viii) | Now you need to map columns in your spreadsheet to their counterparts in the ISA-tab configuration you have selected (in this case SEURAT-1), starting with the sample annotations. You can map to either a spreadsheet column, a literal (meaning a fixed text) or combinations of the above. Required columns (for a technically valid ISA-TAB file) are in red. |
| ix) |
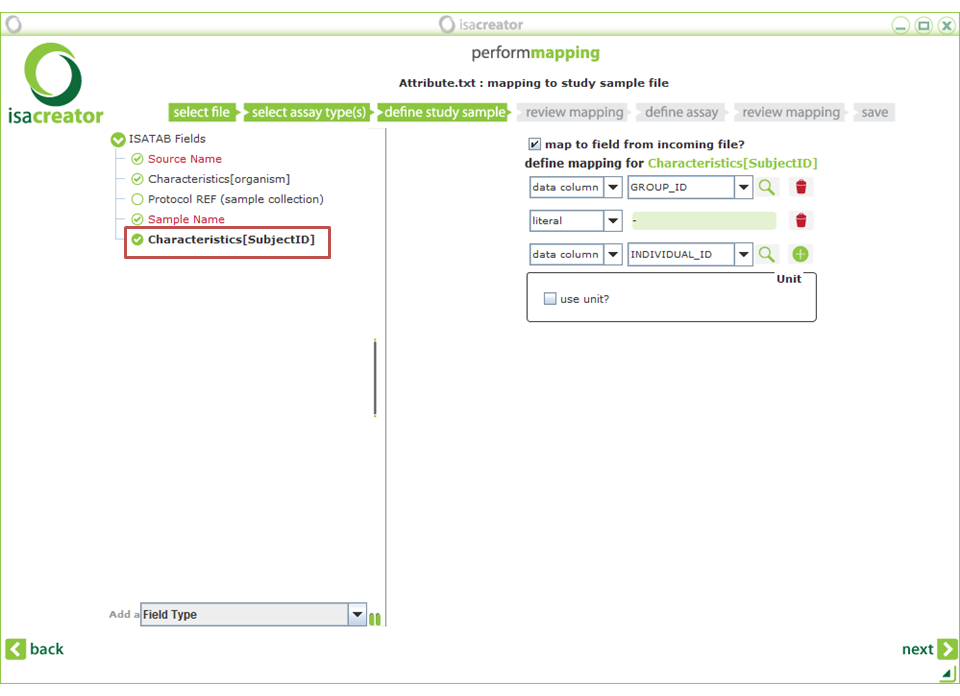
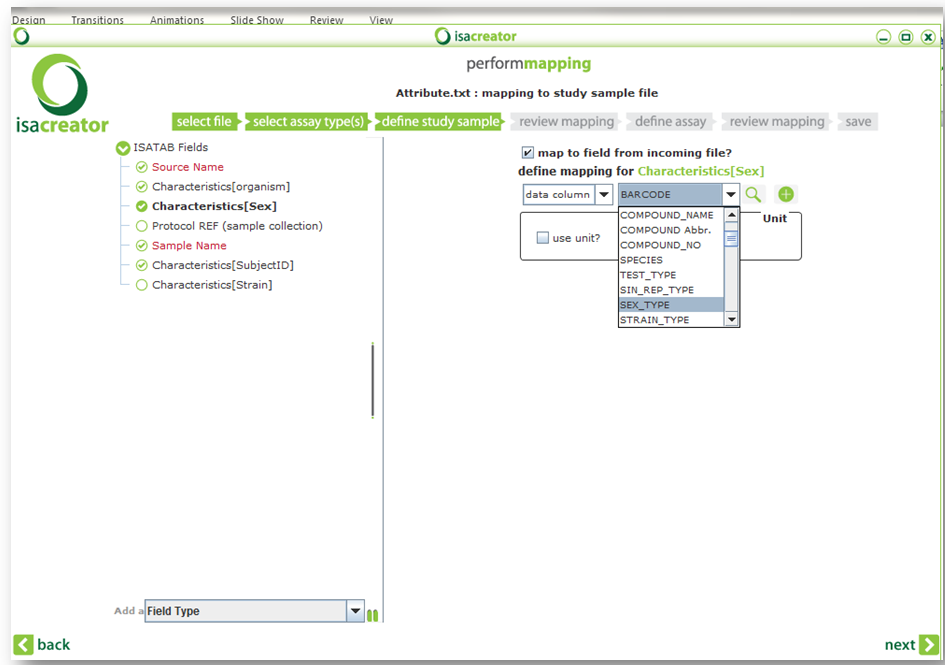
For each ISA-tab variable you want to map, check “Map to field from incoming file”, select either “data column” or “literal” from the first drop-down, and the appropriate data column from the second drop-down (or enter the text you wish all your rows to have in the case of a literal). If you want to map to a combination of variables (such as for Characteristics[SubjectID] below), click on the + button. The fields in the “Attributes.txt” file are expalined in the appendix (Chapter 6). |
| The field names are pre-defined for some fields e.g. fields “Sample Name” and “Source Name”. But the user can add further ISA-tab fields by clicking: Add a “Field type” which opens a pull down menu at the lower left corner. Type the field name after selecting the type: Characteristics/Factor value, as indicated in this guide. |
| Note: Do not click on the + button unless you want to map to more than one variable! If you have already clicked on the +, start over by removing the extra mapping using the TRASH ICON button. |
| TIP: You can use the MAGNIFYING GLAS ICON to peek into your spreadsheet |
| x) |
Perform the following mappings: |
|
| • | Source Name | ==> EXP_ID |
| • | Characteristics[SubjectID] | ==> GROUP_ID (literal) + “-” INDIVIDUAL_ID + |
| • | Characteristics[Strain] (this information is “not specified” but we’ll include the mapping for the sake of completeness) |
==> STRAIN_TYPE |
| • | Characteristics[Organism] | ==> SPECIES |
| • | Characteristics[Sex] | ==> SEX_TYPE |
| • | Factor Value[Age] Characteristics[AgeUnit] |
==> ANIMAL_AGE(week) (literal, i.e. type the text inside quotes, not the quotes) “week” |
|
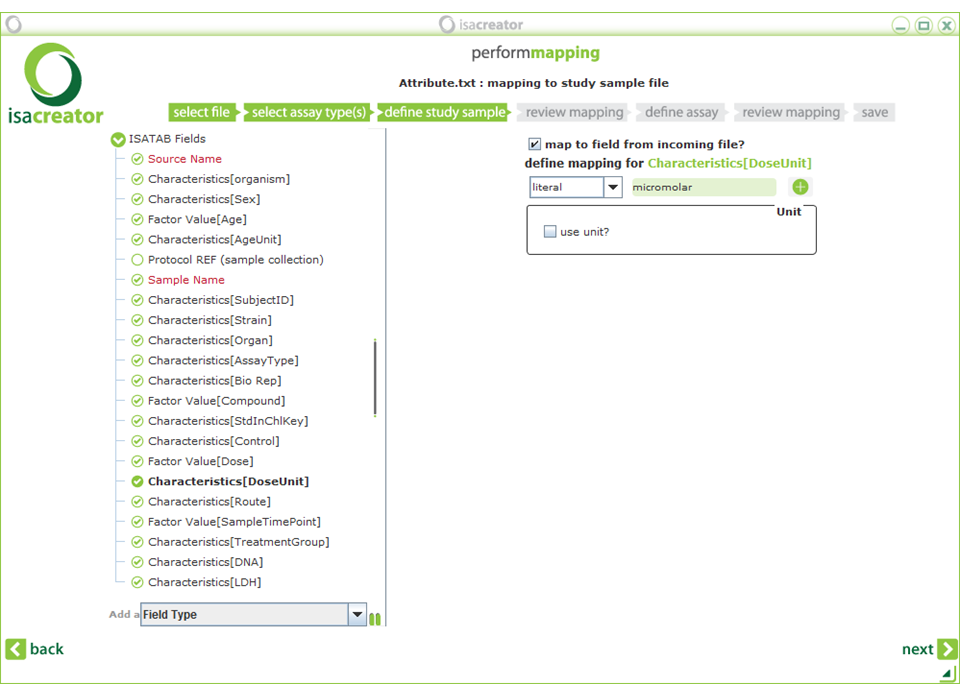
Do not click on the “use unit” in this case .Establish a separate “Characteristics[AgeUnit]” for the unit (i.e by using the “Field Type” dropdown menu). In general, by convention, “Factor Value” variables will be given “Characteristics” variable for the unit (which is a literal, meaning that you type in a piece of text, or a string in computer terms). |
||
| • |
Characteristics[Organ] |
==> ORGAN_ID ==> TEST_TYPE ==> SIN_REP_TYPE ==> COMPOUND_NAME |
|
Next we enter the The IUPAC International Chemical Identifier (InChI /ˈɪntʃiː/ in-chee or /ˈɪŋkiː/ ing-kee; http://en.wikipedia.org/wiki/International_Chemical_Identifier) for the acetaminophen compound. The key is a a hashed InChI, a fixed length (25 character) condensed digital representation of the InChI that is not human-understandable. This can be found by searching the chEMBL database entry (https://www.ebi.ac.uk/chembl/) or in the case of acetaminophen in the ToxBank Gold Compounds database (http://wiki.toxbank.net/wiki/Acetaminophen; under LIINTOP data). |
||
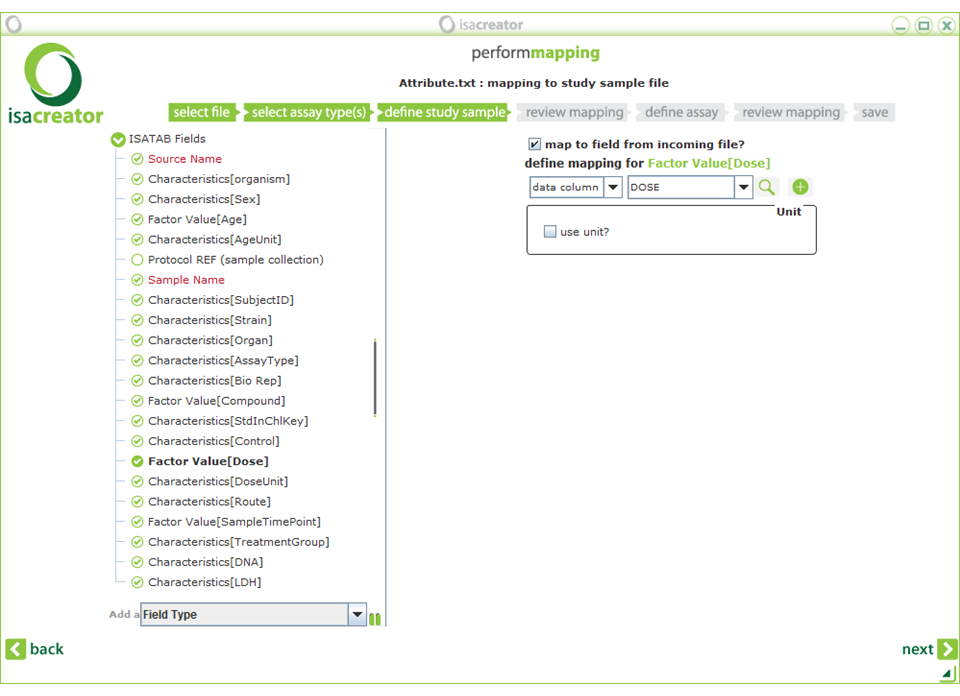
| • | Characteristics[StdInChIKey] —— Characteristics[Control] Factor Value[Dose] |
==> (literal) “RZVAJINKPMORJF-UHFFFAOYSA-N” (from ChEMBL) ==> DOSE_LEVEL ==> DOSE |
Characteristics[DoseUnit] ==> (literal) “micromolar”’
Do not use special characters (such as µ) since not all systems might be able to read them properly.
It is worth noting the distinction that ISA-tab makes between a “Characteristics” Field type and a “Factor Value”:
| • | “Factor Value”: A factor corresponds to an independent variable manipulated by the experimentalist with the intention to affect biological systems in a way that can be measured by an assay. |
| • | “Characteristics”, can be any information one wishes to record about a sample or an assay. For example "Characteristics [organism part]" would contain terms describing where in the body the sample comes from (e.g. liver or kidney). |
I.e. “factor value” would be something you would place into a linear model (y=a+bx) on the right as an explanatory, or x, variable. Gene expression values or other endpoints (e.g. cell death in a dose-response assay) are on the left as y or modelled variables. Characteristics would be descriptions of the experimental set up you talk about in the discussion or in the materials and methods sections but might not utilize directly in the analysis. However, once the analysis (e.g. using a data set like this) is done to establish predictive signatures of genes or metabolites they in turn can be used to predict toxicity. So, there might be situations in which a set of genes (e.g. signature score calculated from a few hundred genes) is used to predict an outcome, such as the binary response toxic/non-toxic. In this case, the gene expression values would be the x’s (on the right side of the model) and not the y (on the left side of the model) which would contain the prediction (0/1).
| Note: By convention if the column is a “Factor” – type variable then a separate “Characteristics” - type variable for the unit is established. Otherwise the “use unit” cross in the mapping screen can be selected and utilized instead. This behaviour may be hard-coded in the future. |
| Characteristics[Route] | ==> ADM_ROUTE_TYPE |
| Factor Value[SampleTimePoint] | ==> SACRI_PERIOD |
| Characteristics[SampleTimePointUnit] | ==> (literal) “hour” |
| Characteristics[TreatmentGroup] | ==> DOSE_LEVEL |
| (we’ve already mapped “Control” to this column but we’ll tweak that later) | |
| Sample Name | ==> BARCODE |

